

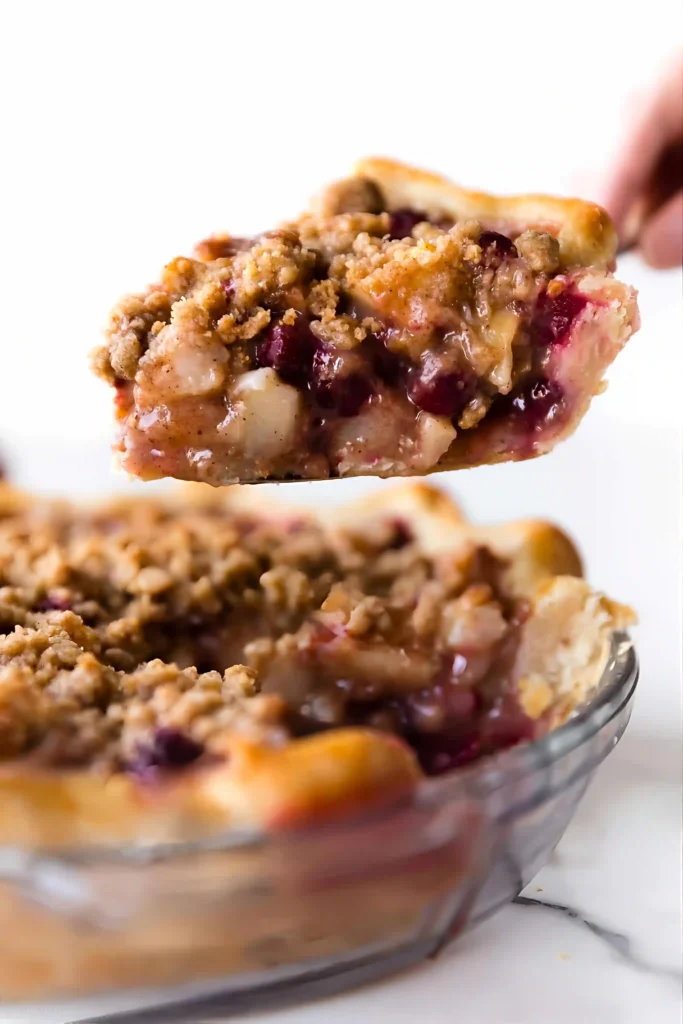

Cranberry Pear Crumble Pie
Description
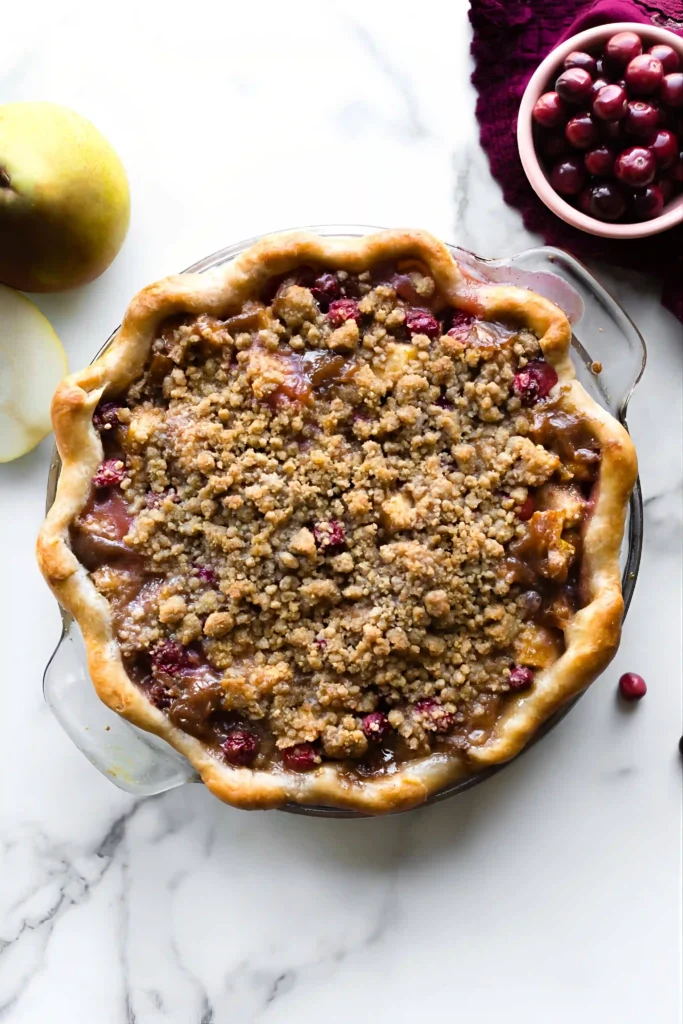
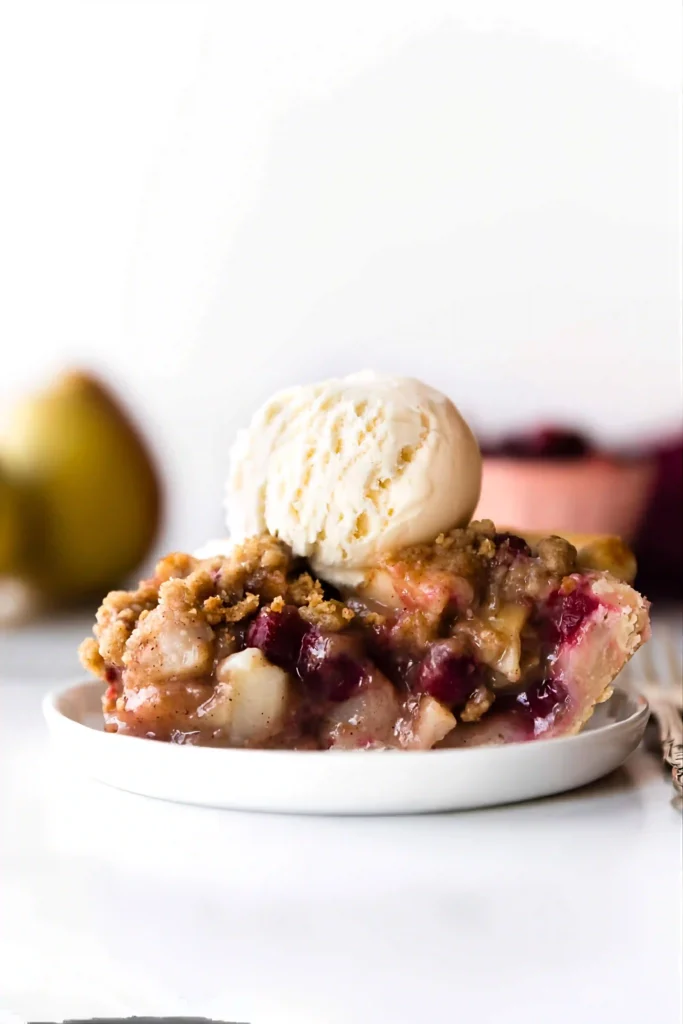
Juicy pears, tart ruby red cranberries, and a buttery brown sugar topping come together in this downright delicious cranberry pear crumble pie. You won’t be able to stop stealing tastes of this pear pie filling– it’s SO GOOD.
Ingredients
Crumble Topping
Instructions
-
The crust: Prepare my pie crust recipe or butter pie crust through step 5.
-
After the pie crust has chilled, adjust the oven rack to the lower third position and preheat the oven to 350°F (177°C).
-
Roll out the chilled pie dough: On a floured work surface, roll out one of the discs of chilled dough (you can freeze the 2nd for later use, see note). Turn the dough about a quarter turn after every few rolls until you have a circle 12 inches in diameter. Carefully place the dough into a 9-inch pie dish.* Tuck it in with your fingers, making sure it is smooth. Flute or crimp the pie crust edges. Chill in the refrigerator or freezer as you prepare the filling and crumble topping.
-
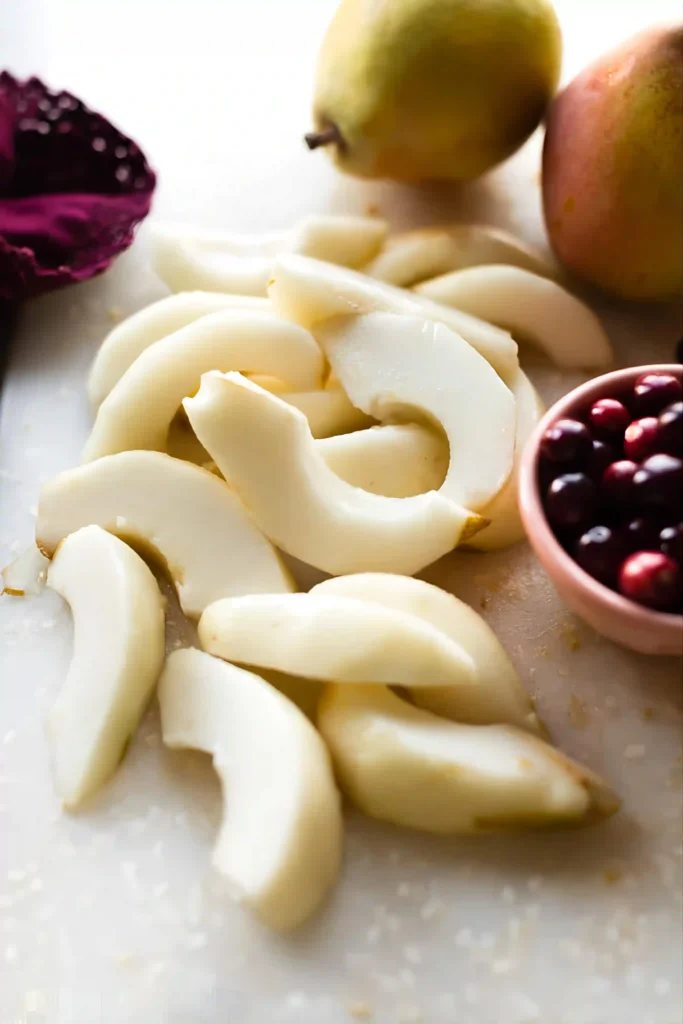
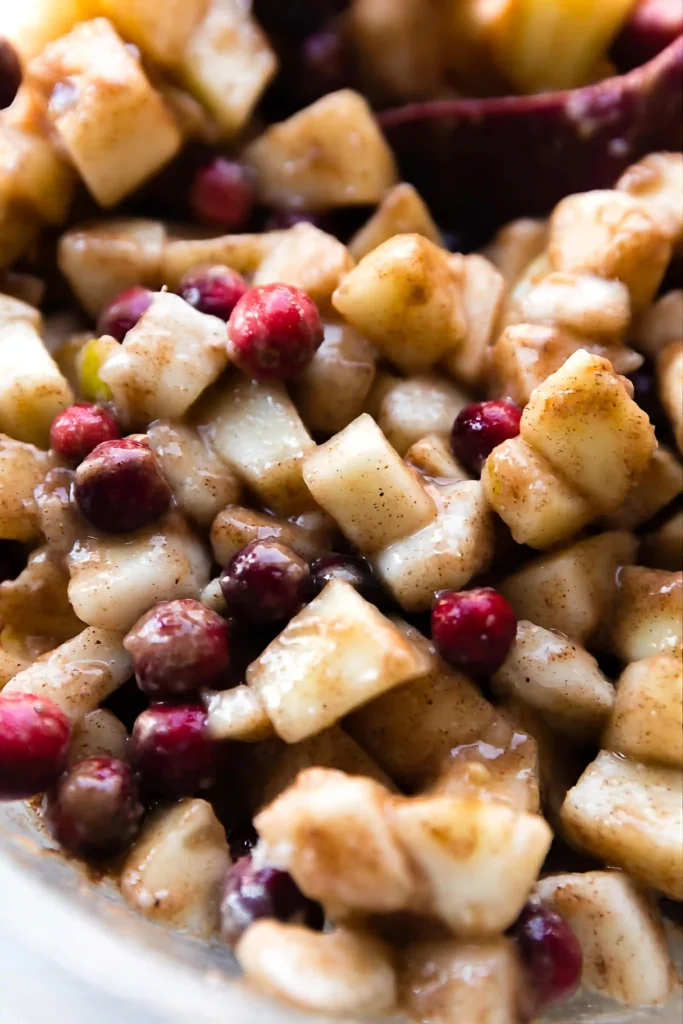
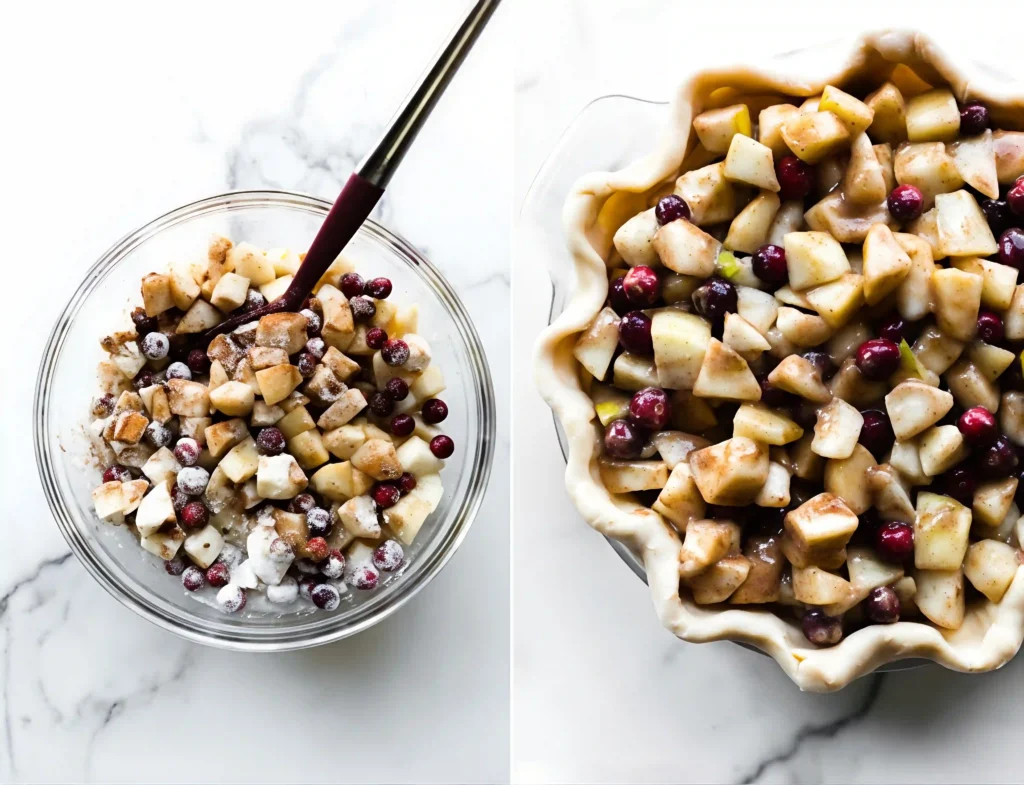
The filling: Combine the pear chunks, cranberries, granulated sugar, flour, cinnamon, ginger, and lemon juice together in a large bowl.
-
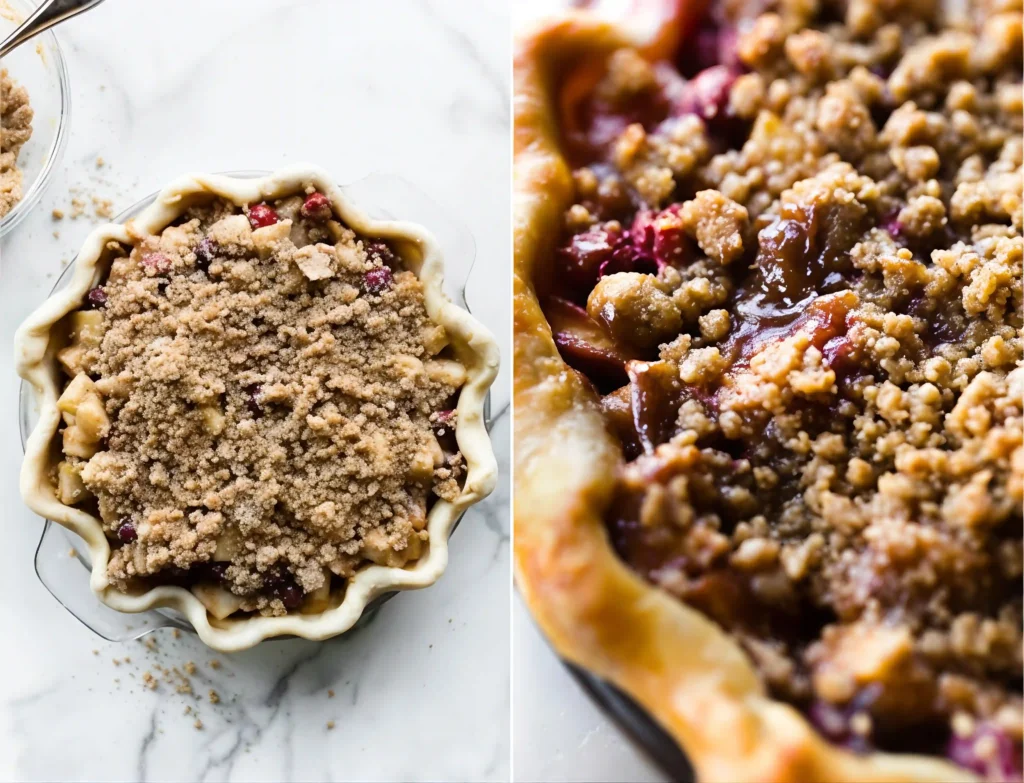
The crumble topping: Combine the brown sugar, cinnamon, and flour together. Pour the melted butter on top and, using a fork, gently mix until crumbles form.
-
Spoon the filling into the crust, leaving any juices behind. Sprinkle crumble topping all over the filling.
-
Bake the pie for 55-65 minutes, or until the top is lightly browned. After the first 20 minutes of bake time, place a pie crust shield on top of the pie to prevent the edges from browning too quickly. You can also tent a piece of aluminum foil over the whole pie if the top is browning too quickly. Remove finished pie from the oven and place on a wire rack to cool completely. The pie filling will set as it cools.
-
Slice and serve pie at room temperature. Cover and store leftover pie in the refrigerator for up to 1 week.
Note
- Make Ahead Instructions – 1-5 Days Ahead: You can get started by combining all the filling ingredients one day ahead of time. Keep covered tightly in the refrigerator until ready to assemble the pie. You can also make the pie dough 1-5 days in advance since it needs to chill. If you want to bake the pie 1 full day in advance, bake it as directed, allow it to completely cool, then cover tightly and keep in the refrigerator overnight. Bring to room temperature before serving.
- Make Ahead Instructions – Freezing: The baked pie freezes well for up to 3 months, tightly wrapped in a couple layers of plastic wrap or aluminum foil. Thaw overnight in the refrigerator and allow to come to room temperature before serving. You can also freeze the unbaked pie with crumble topping. Freeze for a couple hours to set the filling, then tightly wrap the entire pie in 2-3 layers of plastic wrap or aluminum foil, then freeze for up to 1 month. When ready to bake, remove from the freezer, unwrap, and bake for about 20 minutes longer.
- Special Tools (affiliate links): Vegetable Peeler | Rolling Pin | 9-inch Pie Dish | Glass Mixing Bowl | Pie Crust Shield | Cooling Rack
- Freezing Pie Dough: You can freeze the 2nd pie dough for up to 3 months. Thaw overnight in the refrigerator before using.
- Lemon Juice: A squeeze of fresh lemon brightens up the overall flavor of the filling. You won’t regret adding it!
- Glass Pie Dish: I strongly recommend a glass pie dish so you can see when the crust on the sides is browning, which signals that the pie is finished.